

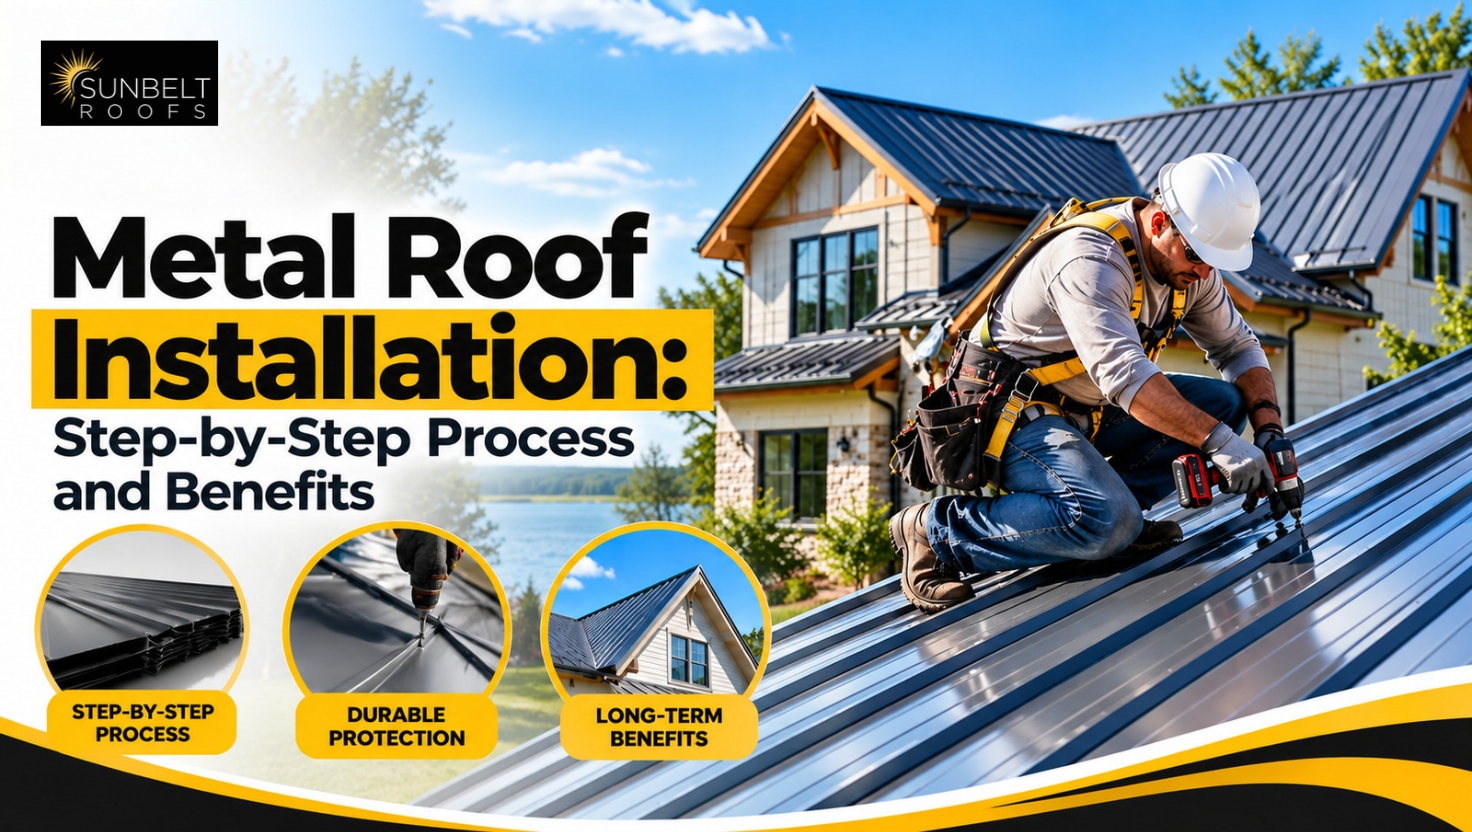
A metal roof is one of the few home upgrades you buy once and then mostly forget about. But the panels are only as good as the crew putting them on. A sloppy metal roof installation leaks at the seams, rattles in the wind, and can void the warranty before the first storm season ends.
Here’s the short answer. The metal roof installation process covers five stages: inspection, tear-off and deck repair, underlayment and flashing, panel fastening, and ridge cap with a final check. Most homes take two to five days. Below, we explain what are the steps to installing a metal roof in plain terms.
We see the difference good prep makes every week on jobs across the Northshore. If you’re looking for trusted Roofers Mandeville homeowners already call on, the details in this guide will help you ask sharper questions before anyone climbs a ladder.
- Metal roofs commonly last 40 to 70 years, roughly two to three times longer than standard asphalt shingles.
- A typical residential job runs two to five working days, weather allowing.
- Underlayment and flashing decide whether the roof stays dry, more than the panels themselves.
- Correct installation keeps manufacturer warranties valid and can support a FORTIFIED Roof designation.
What Does Installing a Metal Roof Involve?
In simple terms, metal roof installation is the job of fitting steel or aluminum panels over a prepared roof deck, sealed with the right underlayment, flashing, and fasteners. It sounds easy. In practice it’s closer to finish carpentry than to nailing down shingles, because every cut and overlap has to line up.
Homeowners usually come to us for one of three reasons. Their shingle roof is near the end of its life, a storm tore it up, or they’re tired of patching the same leak every summer. Knowing how metal roof install crews sequence the job helps you spot shortcuts before they cost you.
- Standing seam panels with hidden fasteners, the premium choice for most homes.
- Exposed fastener panels, common on barns, sheds, and budget builds.
- Metal shingles and stone coated steel, which mimic tile or wood shake.
- Retrofit installs over existing shingles, allowed in some cases but not always smart.
The Step-by-Step Metal Roofing Process
So, what are the steps to installing a metal roof on a typical house? Every crew has its own rhythm, but the order below rarely changes. Skip one and you’ll usually find out the hard way, often during the first heavy rain.
Step 1: Roof Inspection and Measurements
The job starts on the roof, not in the truck. We check decking, rafters, vents, and old flashing, then measure every roof plane. Sometimes this visit shows the roof only needs a targeted fix, and our guide on Metal Roof Repair Near Me explains when a repair beats a full replacement.
Step 2: Tear-Off and Deck Preparation
Old shingles, nails, and rotten felt come off down to the wood. Soft or delaminated plywood gets swapped out, and loose boards get nailed back down. Metal panels are flat and unforgiving, so any dip or high spot in the deck shows through like a dent in a car door.
Step 3: Underlayment and Flashing
Next comes the underlayment, usually a synthetic sheet with a high temperature self adhered membrane in valleys and around pipes. Drip edge, valley flashing, and pipe boots follow. Honestly, most leaks we get called to fix started right here, because someone rushed the flashing to finish early.
Step 4: Panel Layout and Fastening
Panels get squared to the eave, then laid one by one with clips or screws at the spacing the manufacturer lists. Standing seam systems lock together with a seaming tool. Watching how metal roof install teams handle this step tells you a lot, since over driven screws crack washers and loose ones let water in.
Step 5: Ridge Cap, Trim, and Final Check
Ridge cap, closure strips, and gable trim seal the top edges against wind driven rain and insects. Then the crew cleans up metal shavings, which rust and stain if left behind, and runs a magnet sweep for stray screws. A walkthrough with the homeowner closes out the job.
- Confirm the crew pulls the local permit before tear-off starts.
- Ask which underlayment brand and type will go under your panels.
- Request photos of the bare deck once the old roofing is removed.
- Get the fastener spacing and warranty paperwork in writing.
Benefits of Choosing a Metal Roof
The biggest selling point is lifespan. A well installed metal roof can outlast two or even three shingle roofs, and that changes the cost math. If you’re still weighing options side by side, our post on Asphalt Shingle vs Metal Roof lays out the trade offs without the sales pitch.
Metal also handles Gulf Coast weather well. Many panel systems carry high wind uplift ratings, they shed rain fast, and they won’t feed a fire the way wood shakes can. Reflective finishes bounce back a good share of the sun’s heat, so attic temperatures drop noticeably in summer.
- Long service life, often 40 years or more with basic upkeep.
- Strong wind resistance when panels and clips go on to spec.
- Lower cooling load thanks to reflective coatings.
- Light weight, roughly a third to half of what asphalt shingles weigh.
- Fully recyclable at the end of its life, unlike most shingles that end up in a landfill.
There’s a catch, and we’d rather say it upfront. Metal costs more on day one, and large hail can dent thinner gauges. For families planning to stay in their home ten years or longer, though, the numbers tend to land in metal’s favor.
Choosing the Right Metal Panel Before Installation
Panel choice affects the look, the price, and how the crew handles the metal roof installation on your home. Standing seam needs more labor and special tools. Exposed fastener panels go on faster, but their screws need checking every several years as rubber washers age in the sun.
Gauge matters too. Residential panels usually run between 24 and 29 gauge, and the lower number means thicker steel. In hail prone or high wind areas we lean toward 24 or 26 gauge, especially for homes aiming for FORTIFIED Roof standards and the insurance discounts that can follow.
Then there’s the metal itself. Galvalume steel is the everyday workhorse, aluminum suits salty coastal air, and copper or zinc show up on high end projects. For a closer look at profiles and materials, read our guide on Types of Metal Roofing before you sign off on any quote.
- Standing seam: hidden fasteners, cleanest look, highest labor cost.
- Exposed fastener (R panel or corrugated): budget friendly, more upkeep.
- Stone coated steel: textured look and quieter in heavy rain.
- Metal shingles: a good fit for HOA neighborhoods with style rules.
How Long Does a Metal Roof Take? Timeline at a Glance
The full metal roof installation process for an average single story home usually wraps up in under a week. Weather, roof pitch, and how much rotten decking turns up can stretch or shrink that window. Here’s how a typical job breaks down.
| Stage | What Happens | Typical Time |
| Inspection and measuring | Deck check, measurements, material order | 1 to 2 hours on site |
| Tear-off and deck repair | Old roofing removed, damaged plywood replaced | About 1 day |
| Underlayment and flashing | Synthetic underlayment, drip edge, valley and pipe flashing | Half a day to 1 day |
| Panel installation | Panels squared, fastened, or seamed | 1 to 2 days |
| Ridge cap and cleanup | Trim, closures, magnet sweep, final walkthrough | About half a day |
Material lead times can add a week or two before work starts, especially for custom colors or standing seam panels cut to length. Ask your contractor whether panels are roll formed on site or shipped from a supplier, since that shifts the schedule.
- Steeper roofs need safety rigging and take longer.
- Roofs with dormers and several valleys add hours of flashing work.
- Rain delays are normal, but a good crew dries in the roof before leaving each day.
Price follows the same factors. Panel type, gauge, roof size, pitch, and the amount of deck repair all move the final number. A simple gable roof with sound decking will always cost less than a cut up roof with three chimneys and a rotten valley.
Caring for Your Metal Roof After Installation
Metal is low maintenance, not no maintenance. Plan on a quick look every spring and after any big storm. Check for loose trim, clogged gutters, and branches rubbing the panels, because scratches through the coating are where rust starts.
Exposed fastener roofs need a little more attention. The rubber washers under each screw dry out over time, so a screw check every five to ten years keeps small drips from turning into rotten decking. Standing seam roofs mostly need clean gutters and clear valleys.
- Rinse off leaves and debris rather than scraping the panels.
- Keep tree limbs trimmed back at least a few feet from the roof.
- Touch up scratches with the manufacturer’s matching paint.
- Book a professional inspection after hail or hurricane season.
Why Crew Training Changes the Result
Metal is less forgiving than shingles. That’s why metal roof installation training matters more than most people realize. Manufacturers publish strict specs for clip spacing, panel expansion, and flashing details, and a crew that has never trained on them will end up guessing.
Solid metal roof installation training covers thermal movement, because a long steel panel grows and shrinks between a cool morning and a hot afternoon. Fasten it too tight and it buckles or pops screws. Fasten it too loose and wind gets underneath it.
- Manufacturer certification for the specific panel system.
- Hands-on practice with seamers, brakes, and shears.
- OSHA fall protection training for every crew member.
- Working knowledge of local code and wind zone rules.
Hiring Professional Metal Roofing Contractors
When you compare metal roof installation services, look past the price per square. Ask how long the crew has installed metal specifically, who pulls the permit, and what the workmanship warranty covers. A GAF Master Elite contractor like Sunbelt Roofs has met strict standards for licensing, insurance, and training.
The better metal roof installation services also put everything in writing: materials, gauge, color, underlayment, start date, and cleanup terms. If a contractor hesitates to share proof of insurance or past project photos, keep looking. Ask, too, how metal roof install warranties get registered with the manufacturer.
- A verified license and liability insurance.
- Manufacturer certifications plus a workmanship warranty.
- A written, itemized estimate.
- Local references from recent jobs.
- A clear plan for protecting landscaping, siding, and driveways during tear-off.
Not every roof needs to come off right away, and not every problem calls for metal. Sometimes the smarter move is patching now and planning a replacement later. Our overview of Roof Repair and Replacement walks through how to decide which path fits your home and budget.
Conclusion
A metal roof pays off when it goes on right, and that comes down to prep, careful flashing, and a trained crew that follows the specs. If you’re planning a new roof in Louisiana or Mississippi, talk to Sunbelt Roofs about an inspection and a clear written plan before you commit. A good crew will tell you honestly whether metal is the right call for your house.
FAQs
Q1: What are the steps to installing a metal roof?
Inspection, tear-off and deck repair, underlayment and flashing, panel fastening, and finally ridge cap with a last check.
Q2: Can a metal roof go over shingles?
Sometimes, if local code allows it, but a full tear-off lets the crew inspect and repair the deck first.
Q3: How long does a metal roof last?
Most metal roofs last 40 to 70 years, depending on the metal, the coating, and the quality of the install.